
Starbucks cake pops are a delightful treat loved by many for their moist cake interior and smooth, sweet coating. Creating these cake pops at home is not only fun but also allows you to customize flavors and decorations to your liking. In this comprehensive guide, we will explore how to make a Starbucks cake pop, ensuring you can replicate these delicious bites with ease.
What are Starbucks Cake Pops?
History of Cake Pops
Cake pops have a fascinating history. These bite-sized desserts originated in the early 2000s, with Angie Dudley, also known as Bakerella, popularizing them through her blog and subsequent cookbook. Her innovative approach to transforming leftover cake into charming treats on a stick caught the attention of bakers and dessert enthusiasts alike.
Popularity and Variations
Since their inception, cake pops have grown immensely in popularity, becoming a staple at celebrations and a favorite in cafes like Starbucks. The charm of cake pops is in their adaptability. They can be made in a myriad of flavors, colors, and designs, making them perfect for any occasion.
Ingredients for make Starbucks Cake Pops
Essential Ingredients
To make Starbucks cake pops, you’ll need the following essential ingredients:
- Cake: A simple vanilla or chocolate cake works best.
- Frosting: Buttercream or cream cheese frosting to bind the cake crumbs.
- Candy Melts or Chocolate: For coating the cake pops.
- Lollipop Sticks: Essential for creating the signature cake pop look.
Alternative Ingredients
For those looking to experiment or accommodate dietary preferences, consider these alternatives:
- Gluten-Free Cake Mix: For a gluten-free option.
- Vegan Frosting: To make the recipe vegan-friendly.
- Natural Food Coloring: For those avoiding artificial dyes.
Equipment Needed of Make Starbucks Cake Pops
Kitchen Tools
You don’t need many tools to make cake pops, but a few kitchen essentials include:
- Mixing Bowls: For combining ingredients.
- Electric Mixer: To make the frosting smooth.
- Baking Sheet: For chilling the cake pops.
Specialty Tools for Cake Pops
To achieve a professional look, consider investing in these specialty tools:
- Cake Pop Mold: Helps in shaping uniform cake balls.
- Dipping Tools: For an even coating.
- Styrofoam Block: To hold the cake pops upright while they are set.
Step-by-Step Guide on How to Make a Starbucks Cake Pop
Preparing the Starbucks Cake Pop
The first step in making Starbucks cake pops is to bake the cake. You can use a box mix or a homemade recipe. Choose your favorite flavor, whether it’s vanilla, chocolate, or something more adventurous. Follow the instructions to bake the cake, then let it cool completely. A cooled cake crumbles more easily, which is essential for forming the cake pops.
Making the Frosting for Starbucks Cake Pop
While the cake is cooling, prepare your frosting. A simple buttercream works well, but you can also use cream cheese frosting for a richer flavor. To make buttercream, beat together butter and powdered sugar until light and fluffy. Adjust the consistency by adding a bit of milk or cream. The frosting should be smooth and easy to mix with the cake crumbs.
Combining Starbucks Cake Pop and Frosting
Once the cake is fully cooled, crumble it into fine crumbs using your hands or a food processor. Transfer the crumbs to a large mixing bowl. Start adding the frosting, a little at a time, and mix until the cake crumbs stick together. The mixture should be damp but not overly wet. You may not need all the frosting, so add it gradually and test the consistency as you go.
Shaping the Cake Balls
Now that your cake and frosting mixture is ready, it’s time to shape the cake balls. Use a small cookie scoop or your hands to form the mixture into balls about the size of a golf ball. Arrange each ball on a baking sheet covered with parchment paper. Try to make the balls uniform in size for even coating and presentation.
Inserting the Sticks
To insert the sticks, melt a small amount of candy melts or chocolate in a microwave-safe bowl. Dip the tip of each lollipop stick into the melted candy, then insert it halfway into a cake ball. This step helps secure the stick in place. Repeat for all the cake balls. Once done, place the baking sheet in the refrigerator for about 2 hours to firm up.
Chilling the Cake Balls
Chilling the cake balls is a crucial step to ensure they stay intact during dipping. Let the cake balls firm up in the refrigerator for at least two hours. This helps them hold their shape and prevents them from falling apart when coated with the melted candy.
Preparing the Coating
While the cake balls chill, prepare the coating. Use candy melts or chocolate for a smooth, glossy finish. Melt the candy melts or chocolate in a microwave-safe bowl, stirring every 30 seconds until fully melted. If the coating is too thick, add a teaspoon of vegetable oil to thin it out. The consistency should be smooth and easy to dip.
Dipping the Cake Pops
Once the cake balls are chilled and the coating is ready, it’s time to dip. Hold a cake pop by the stick and dip it into the melted coating, ensuring the entire ball is covered. Gently tap off the excess coating and place the dipped cake pop upright in a Styrofoam block to set. Repeat with the remaining cake pops. If the coating begins to thicken, reheat it in the microwave for a few seconds.
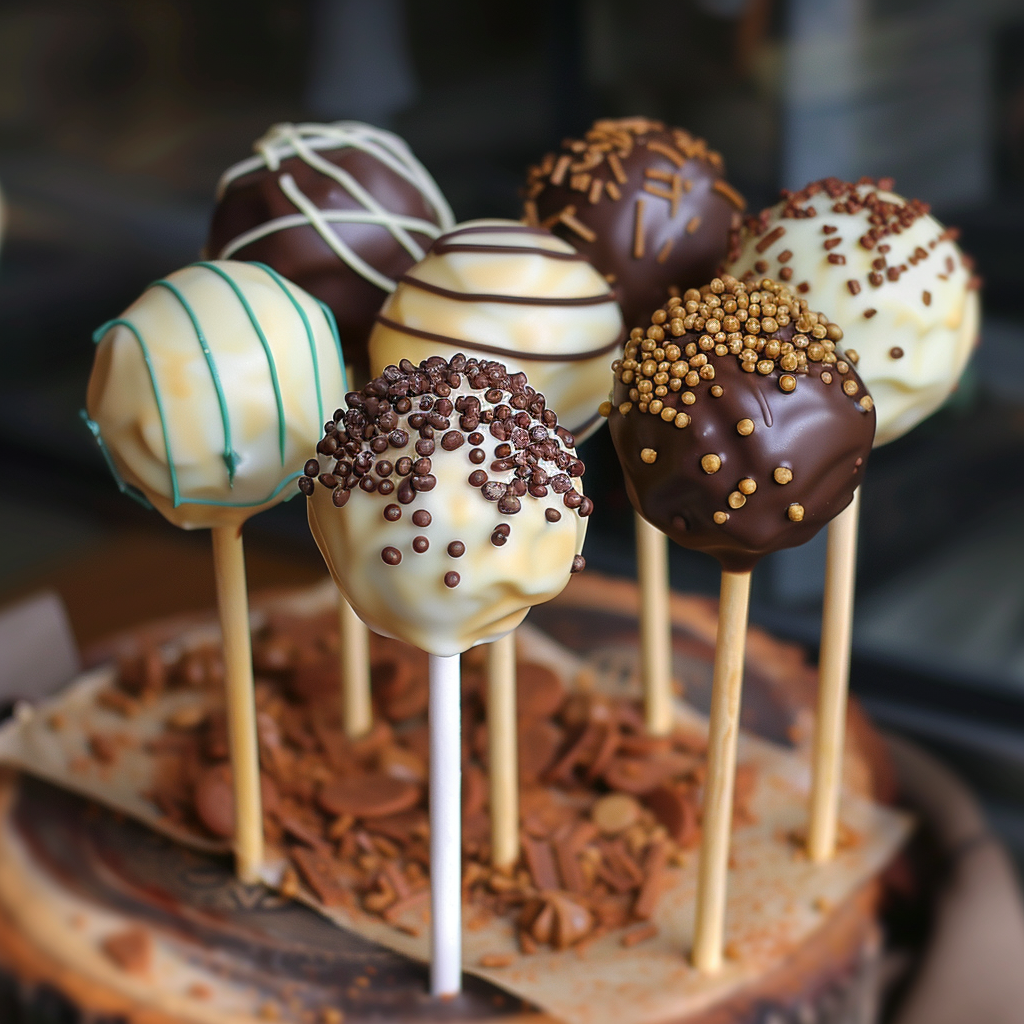
Decorating Tips for Starbucks Cake Pop
Before the coating sets completely, you can decorate your cake pops. Sprinkle on colored sugar, sprinkles, or edible glitter for a festive touch. You can also drizzle a contrasting color of melted candy or chocolate over the pops for a decorative effect. Let the cake pops sit until the coating is fully set before serving.
By following these steps, you can make delicious and visually appealing Starbucks-style cake pops at home. Enjoy the process and have fun trying out various flavors and decorations!
Flavor Variations of Making Starbucks Cake Pops
Chocolate Cake Pops
Chocolate cake pops are a classic and beloved choice. To make these, start with a rich, moist chocolate cake. Use a complementary chocolate frosting to mix with the cake crumbs. The combination of chocolate on chocolate creates a decadent treat that’s sure to please any chocolate lover.
For the coating, melt dark or milk chocolate candy melts. Dip each cake pop into the melted chocolate, ensuring an even coating. To add a touch of elegance, sprinkle some chocolate shavings or drizzle white chocolate over the top. The result is a smooth, glossy finish with a rich chocolate flavor that melts in your mouth.
Vanilla Cake Pops
Vanilla cake pops are another popular option, offering a lighter, more delicate flavor profile. Start with a fluffy vanilla cake and combine it with a classic buttercream frosting. This combination creates a sweet and creamy base that pairs perfectly with various coatings and decorations.
For the coating, white chocolate or vanilla-flavored candy melts work best. Dip each cake pop into the melted coating, letting any excess drip off before it sets. For decoration, you can use colorful sprinkles, edible pearls, or even a contrasting drizzle of dark chocolate. Vanilla cake pops are versatile and can be easily adapted for any occasion or theme.
Red Velvet Cake Pops
Red velvet cake pops are a visually stunning and delicious choice. The rich red color of the cake, paired with the smooth cream cheese frosting, creates a unique and delectable flavor. Red velvet cake pops are perfect for special occasions and holidays.
To make red velvet cake pops, start with a red velvet cake and mix the crumbs with cream cheese frosting. The tangy sweetness of the frosting complements the mild chocolate flavor of the red velvet cake beautifully. For the coating, use white chocolate or vanilla candy melts, which provide a nice contrast to the red cake. You can decorate with red sprinkles, edible glitter, or even mini heart-shaped candies for an extra festive touch.
Seasonal Flavors
Seasonal flavors are a fun way to celebrate different times of the year with your cake pops. For fall, consider making pumpkin spice cake pops. Use a spiced pumpkin cake and mix with cream cheese frosting. Dip in white chocolate and sprinkle with cinnamon sugar for a warm, autumnal treat.
In winter, peppermint cake pops are a festive choice. Use a chocolate cake mixed with peppermint frosting. Dip in dark chocolate and sprinkle with crushed candy canes for a refreshing minty flavor.
Spring and summer flavors can include lemon or strawberry cake pops. A lemon cake with lemon frosting, dipped in white chocolate and sprinkled with zest, creates a bright, citrusy treat. Strawberry cake with strawberry frosting, dipped in pink candy melts and decorated with dried strawberry pieces, is a fruity and refreshing option.
By experimenting with these flavor variations, you can create cake pops that suit any taste or occasion. Whether you prefer the rich decadence of chocolate, the classic sweetness of vanilla, the vibrant appeal of red velvet, or the seasonal charm of specialty flavors, there’s a cake pop for everyone.
Tips for Perfect Cake Pops
Achieving the Right Consistency
Getting the right consistency is crucial for perfect cake pops. When mixing the cake crumbs with the frosting, add the frosting gradually. Ensure the mixture is damp enough to form shapes without being excessively wet. If it’s too dry, the cake balls will crumble; if it’s too wet, they’ll be mushy. Aim for a dough-like texture that can easily be rolled into balls.
Avoiding Common Mistakes
One common mistake is not chilling the cake balls long enough. Make sure to chill them for at least 2 hours before dipping to prevent them from falling apart. Another mistake is overheating the candy melts, which can make the coating too thick and difficult to work with. Melt the coating slowly and stir frequently to keep it smooth.
Storing Cake Pops
Proper storage ensures your cake pops stay fresh. Keep them in a tightly sealed container at room temperature for a week. For longer storage, you can refrigerate them for up to two weeks or freeze them for up to a month. Just make sure they are well-sealed to prevent them from drying out or absorbing other odors.
FAQs About Make Starbucks Cake Pops
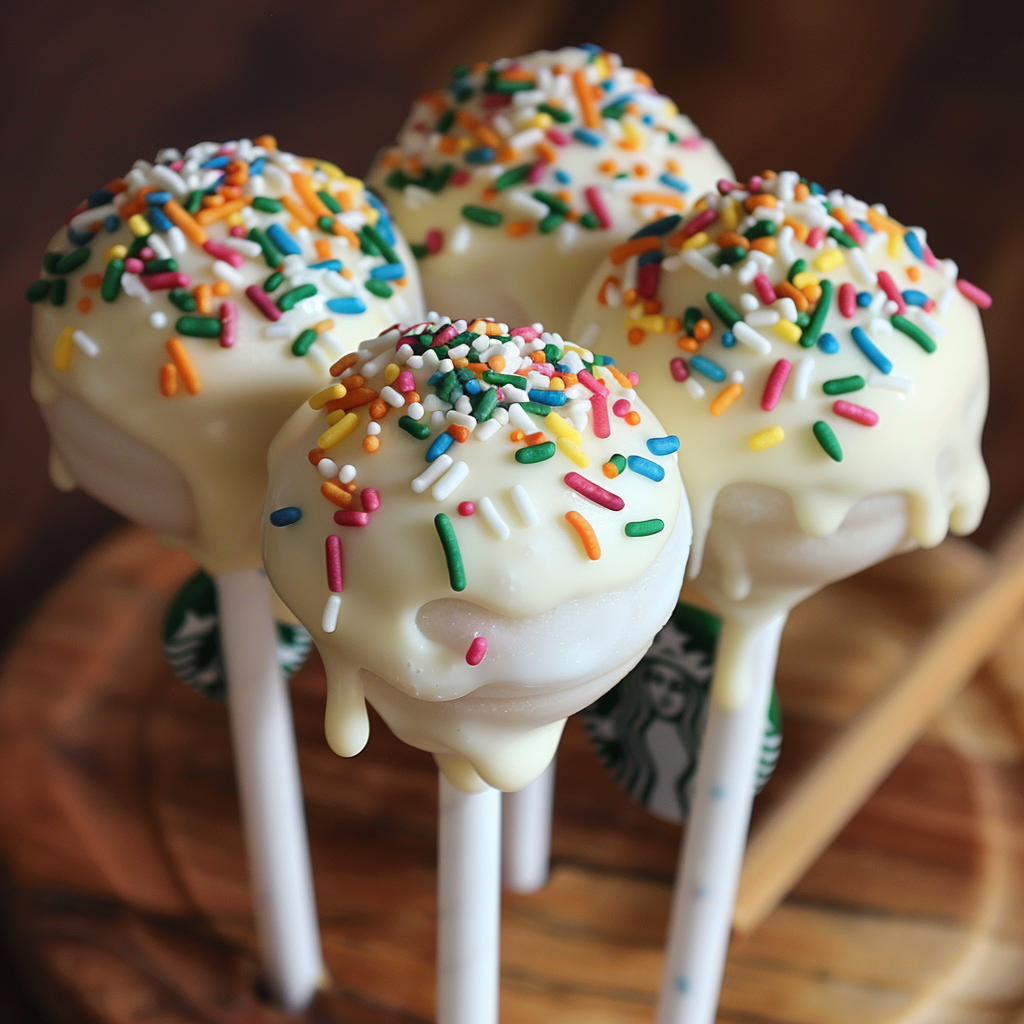
What makes Starbucks cake pops unique?
Starbucks cake pops stand out due to their consistent quality, creative designs, and delightful flavors. Each pop is crafted to have the perfect balance of moist cake and smooth coating, often with fun and seasonal decorations that appeal to a wide range of customers.
What steps can I take to prevent my cake pops from cracking?
Cracking usually occurs when the cake pops go from cold to hot too quickly. To avoid this, let the chilled cake balls sit at room temperature for a few minutes before dipping. Also, ensure that the coating is not too hot. A gentle, even temperature transition helps prevent cracks.
Can I Make Starbucks Cake Pops of time?
Yes, you can make cake pops ahead of time. Shape and chill the cake balls, then store them in the refrigerator for up to 2 days before coating. These can be kept frozen for a month as well. Dip and decorate them the day you plan to serve for the best texture and flavor.
What can I use instead of candy melts for coating?
If you prefer not to use candy melts, you can use white, milk, or dark chocolate as a coating. Just melt the chocolate gently and add a teaspoon of vegetable oil to thin it out for a smooth, easy-to-dip consistency. Other options include almond bark or colored chocolate wafers.
How long do homemade cake pops last?
Homemade cake pops can last up to a week at room temperature in an airtight container. If refrigerated, they can stay fresh for up to two weeks. To extend their shelf life, these can be frozen for a month. Always ensure they are properly sealed to maintain freshness.
Are there any vegan options for cake pops?
Yes, you can make vegan cake pops by using a vegan cake mix and frosting.Replace dairy products with vegan alternatives such as almond milk and vegan butter. For the coating, use vegan chocolate or candy melts. Many specialty stores offer vegan-friendly baking supplies.
Conclusion
Making Starbucks-style cake pops at home is a fun and rewarding process. With the right ingredients, tools, and techniques, you can create delicious, beautifully decorated cake pops for any occasion. Whether you stick to classic flavors or experiment with seasonal variations, these tips and FAQs will help you achieve the perfect cake pops every time.
1 thought on “How to Make a Starbucks Cake Pop? Easy Recipe with Tips”